Whether you’re presenting project milestones, historical events, or business strategies, a timeline template is an indispensable tool for organizing information visually. Paired with a well-designed slide, it transforms complex data into an engaging narrative. This blog explores the fundamentals of timeline templates, their benefits, and how to create one efficiently—even if you’re short on time.
What Is a Timeline Template?
A timeline template is a pre-structured framework that arranges events, tasks, or milestones in chronological order on a slide. It typically includes horizontal or vertical lines, markers, labels, and graphics to highlight key moments.
These templates are widely used in presentations, reports, and educational materials to simplify timelines and improve audience comprehension.
The versatility of a timeline template lies in its adaptability. Whether you’re designing a slide for a corporate pitch or a classroom lecture, it can be customized to match branding, adjust time intervals, or emphasize specific phases.
Modern tools even automate the creation process, ensuring consistency across multiple slides while saving hours of manual design work.
Benefits of Using a Timeline Template in Your Slides
Integrating a timeline template into your slide deck offers several advantages:
1. Clarity and Structure: A timeline template eliminates ambiguity by presenting sequences logically. Audiences grasp relationships between events faster when visualized on a slide.
2. Time Efficiency: Pre-designed templates reduce formatting efforts, letting you focus on content rather than design.
3. Professional Appeal: Polished slides with cohesive timelines enhance credibility, whether for clients or stakeholders.
4. Flexibility: Modify colors, fonts, or layouts to align with your slide theme without disrupting the timeline’s integrity.
5. Collaboration: Share editable timeline templates with teams to streamline feedback and revisions.
By standardizing how information is displayed, a timeline template ensures every slide in your presentation maintains visual and narrative coherence.
How to Create a Timeline Template
Building a timeline template from scratch may seem daunting, but breaking it into actionable steps simplifies the process. Here’s a detailed guide to designing a polished timeline template for your next slide:
1. Define the Scope
Start by outlining the timeframe your timeline template will cover. Determine the start and end dates, and identify whether the slide requires a high-level overview (e.g., decades) or granular details (e.g., days or weeks). Clarify the purpose—is it for tracking project phases, historical events, or marketing campaigns? A well-defined scope ensures your slide remains focused and relevant.
2. Choose a Format
Select a layout that complements your slide’s content. Horizontal timelines work well for linear progressions, while vertical designs save space in portrait-oriented slides. Circular timelines are ideal for cyclical processes, such as product lifecycles. Ensure the format aligns with your timeline template’s narrative flow.
3. Select a Tool
Use software like PowerPoint, Google Slides, or specialized tools like ilovefree.ai for efficiency. AI-driven platforms automate design tasks, generating timeline templates with consistent styling across slides. Prioritize tools that offer drag-and-drop customization to adjust elements effortlessly.
4. Set Time Intervals
Divide your timeline template into logical segments. For multi-year projects, use yearly or quarterly intervals; for short-term goals, break it into weeks or months. Ensure intervals are evenly spaced on the slide to avoid visual clutter. Adjust gridlines or markers to maintain alignment.
5. Add Milestones
Plot critical events using icons, shapes, or text boxes. For example, use stars for project launches or flags for deadlines. Position milestones accurately along the timeline to reflect their chronological order. On the slide, ensure labels are concise but informative—e.g., “Q3: Product Launch.”
6. Incorporate Visuals
Connect milestones with lines, arrows, or color-coded bars to illustrate relationships. Use gradients or contrasting hues to differentiate phases (e.g., planning vs. execution). Visual hierarchy is key—bold lines for primary events, thinner ones for secondary tasks. This keeps the slide engaging and easy to follow.
7. Label Clearly
Ensure all dates, titles, and descriptions are legible. Use a consistent font size (e.g., 12pt for dates, 14pt for milestones) and high-contrast colors (e.g., dark text on light backgrounds). Align labels horizontally or vertically to match the timeline template’s orientation, avoiding overlapping text on the slide.
8. Apply Branding
Integrate company-specific elements like logos, brand colors, or fonts. For instance, use your brand’s primary color for milestone markers and secondary shades for connectors. This reinforces professionalism and ensures the timeline template aligns with other slides in the deck.
9. Test Responsiveness
Preview the slide on multiple devices (e.g., laptops, tablets) to confirm readability. Adjust element sizes or spacing if text appears cramped. For digital presentations, ensure interactive elements (e.g., clickable milestones) function smoothly across platforms.
10. Add Annotations
Include brief notes or hyperlinks to provide context without overcrowding the timeline template. For example, link a milestone labeled “Market Research” to a PDF report. Use tooltips or footnotes in the slide to keep the design clean.
11. Review Chronology
Verify that all dates and sequences are accurate. Cross-reference with project plans or historical data to eliminate errors. A misplaced milestone on the slide can confuse audiences and undermine credibility.
12. Export and Share
Save the timeline template in formats compatible with your workflow—e.g., PPTX for editing, PDF for printing, or PNG for embedding in emails. Cloud-sharing options let teams collaborate on the slide in real time.
13. Iterate
After presenting, gather feedback on the timeline template’s clarity and visual appeal. Update labels, adjust spacing, or refine color schemes for future slides. Continuous improvement ensures your templates stay relevant and effective.
By following these steps, your timeline template will transform complex data into a structured, visually cohesive slide that resonates with audiences.
Using ilovefree.ai to Design Your Timeline Slide Templates
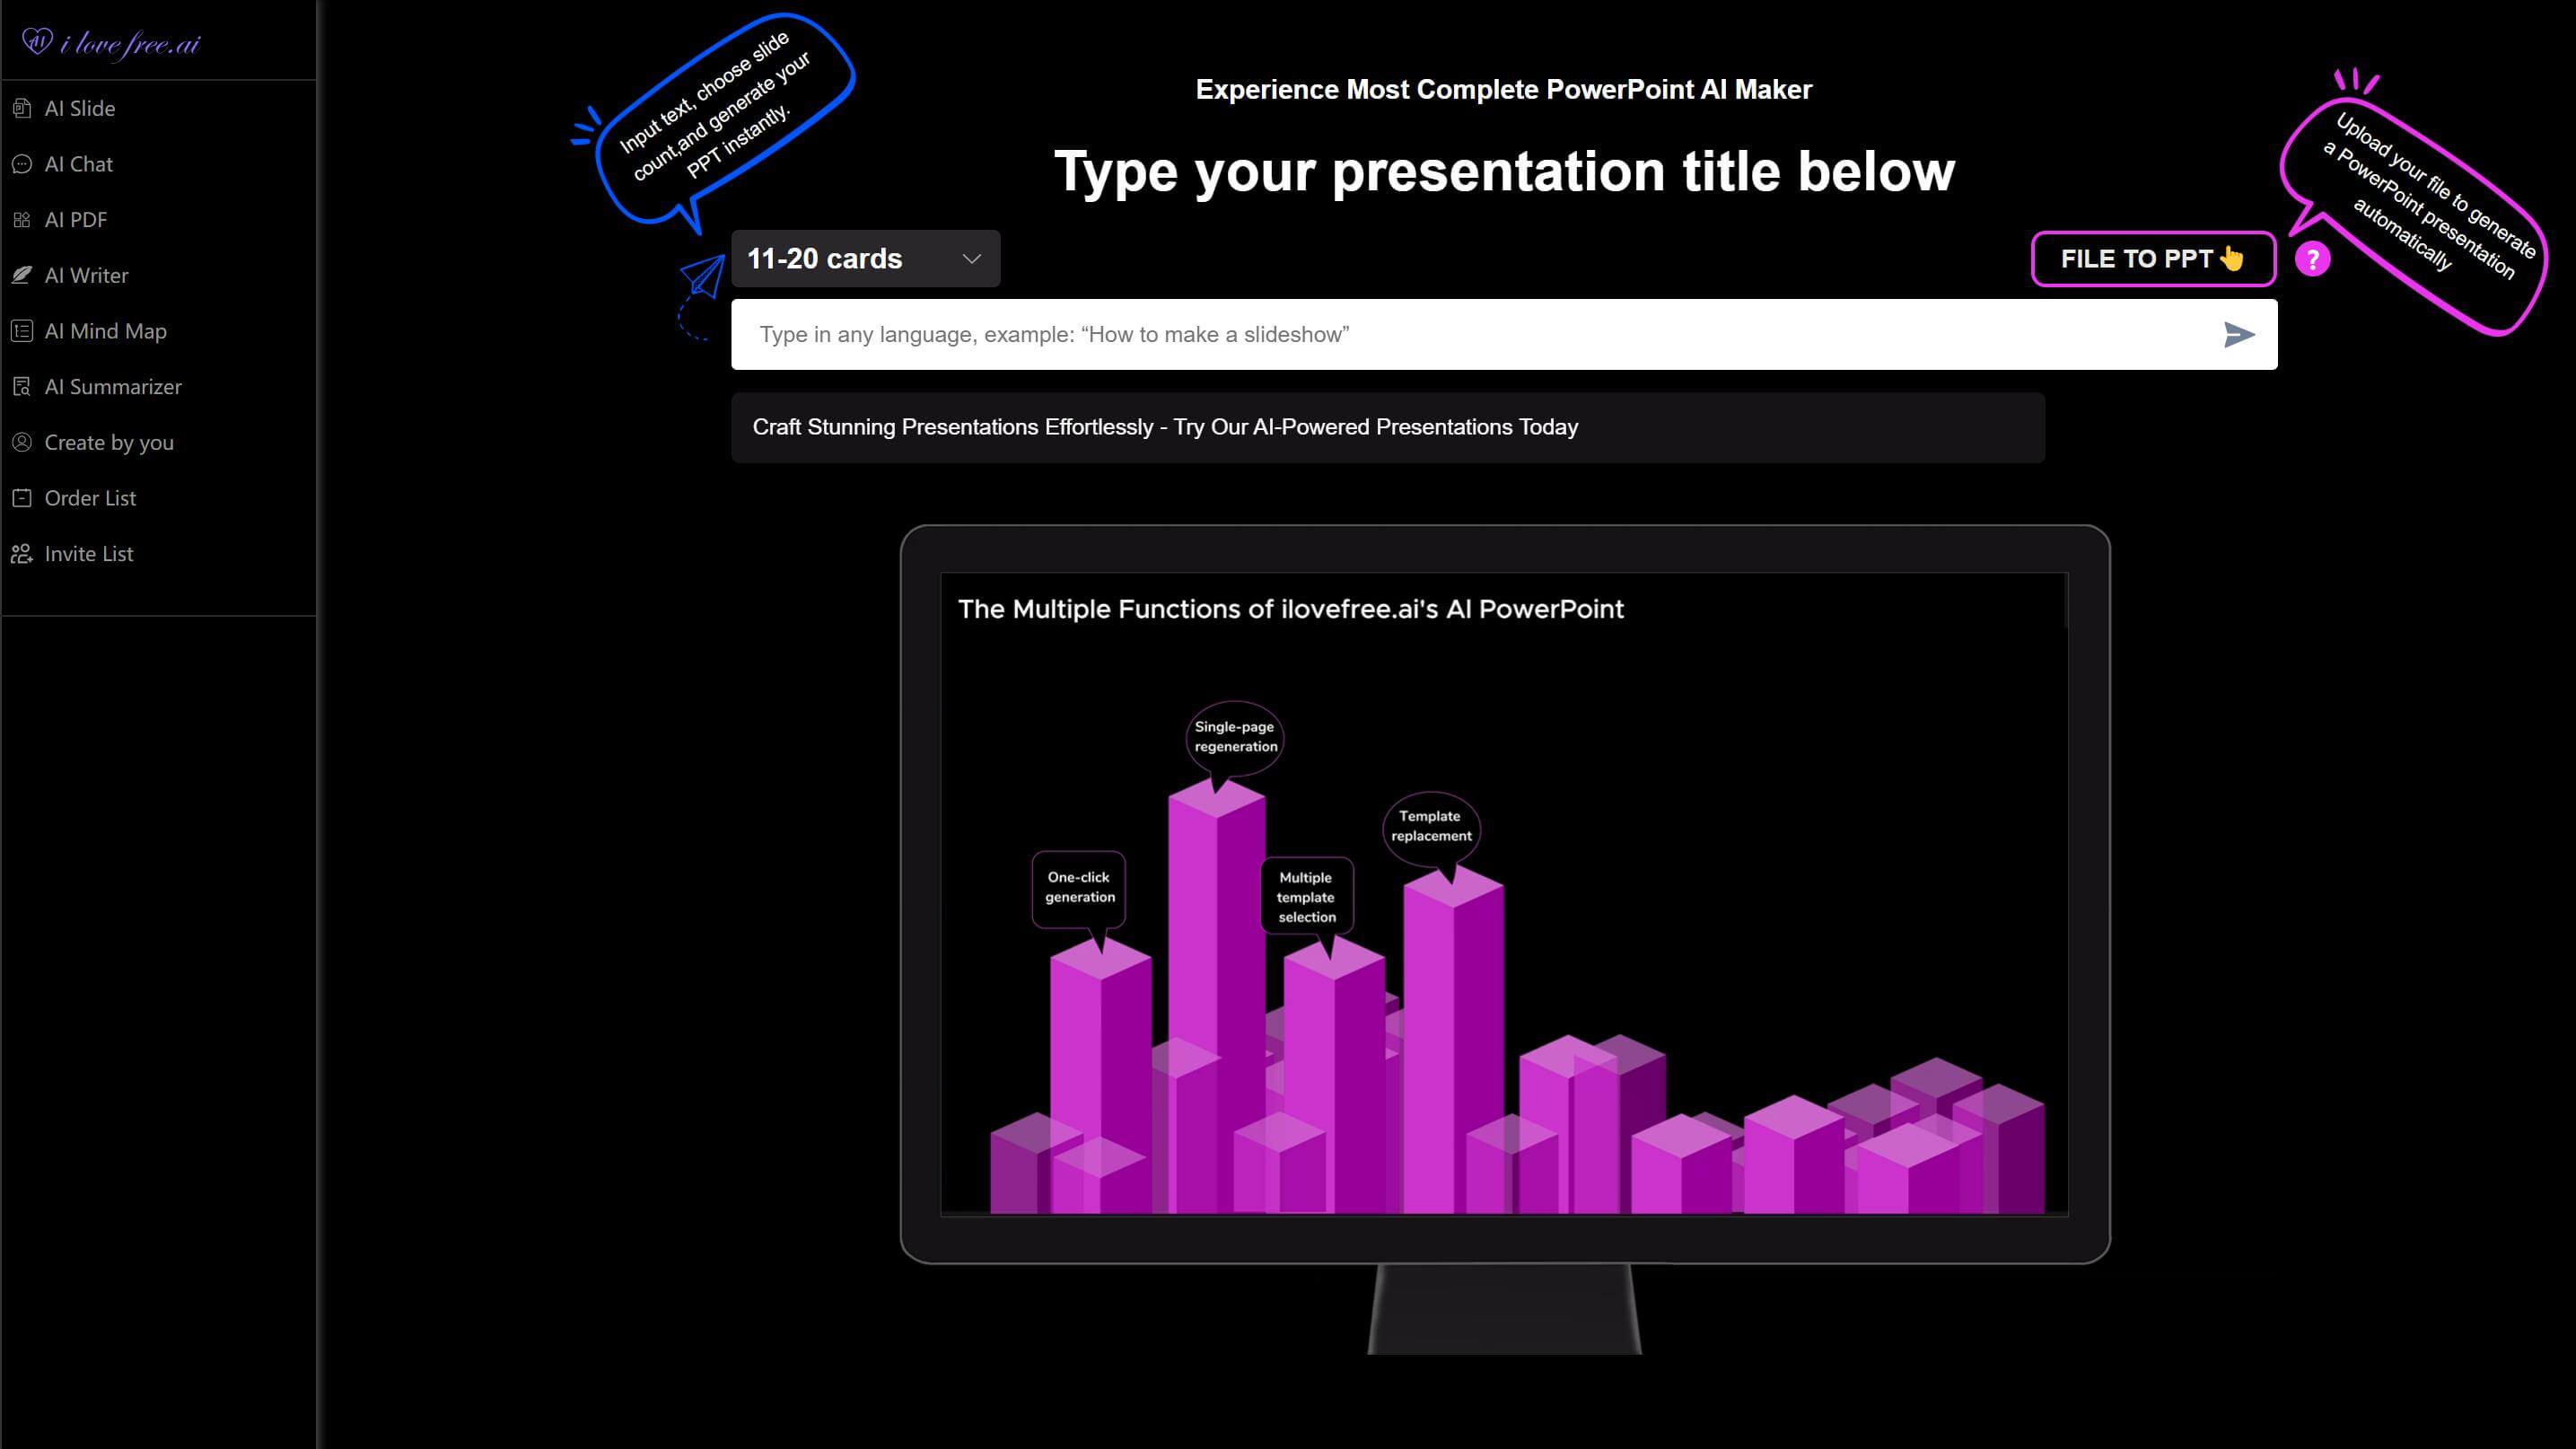
For those seeking speed and innovation, ilovefree.ai offers AI-powered tools to create timeline templates in minutes. Its standout feature, AI Slide, revolutionizes how you build slides:
1. AI Slide: Input keywords like “project roadmap” or “historical events,” and the tool auto-generates a timeline template complete with layouts, graphics, and placeholders. The library includes thousands of designs, from minimalist to infographic-style slides. Editable elements let you tweak colors, fonts, or milestones without leaving the platform. For frequent users, watching brief ads unlocks additional AI capabilities, making it ideal for last-minute slide creation.
2. Complementary Tools:
- AI PDF: Merge, split, or convert PDFs—useful for importing/exporting slide content.
- AI Writer: Generate concise descriptions for timeline milestones.
- AI Mind Map: Brainstorm ideas before structuring them into a timeline template.
- AI Summarizer: Condense research into bullet points for your slides.
While these features enhance productivity, AI Slide remains the cornerstone for designing polished timeline templates effortlessly.
A well-crafted timeline template elevates any slide by transforming raw data into a compelling story. By understanding its fundamentals, leveraging its benefits, and using modern tools like ilovefree.ai, you can create professional slides that resonate with audiences—all within minutes.